Proof of Existence Blockchain with Substrate

This post will show you how easy it is to build a proof of existence blockchain with a user interface using Parity's Substrate framework.
2019 will surely be remembered as an exciting year for blockchain development and decentralized applications. Just in time for the new year, Parity's Substrate was officially released in beta.
If you are unfamiliar with Substrate, it is a development framework enabling users to easily build custom blockchains. Whereas blockchain development would normally require you to develop peer-to-peer networking, a database layer, a JSON RPC, consensus algorithms, and more, Substrate provides you with enterprise ready, battle-test software which you can customize for your needs.
To illustrate the simplicity of developing on Substrate, I thought I would try to build one of a simplest practical blockchains that you can develop: a proof of existence blockchain.
Proof of Existence is an online service that verifies the existence of computer files as of a specific time via timestamped transactions in the bitcoin blockchain.
The first proof of existence platform was built as a sort of "hack" on top of the Bitcoin network. At that time, it would be pretty impractical to build an entire blockchain platform for just this purpose, but with Substrate, not only is it practical, but it is actually easy!
You can find the repository for this ongoing project here:
https://github.com/shawntabrizi/substrate-proof-of-existence
So let's jump right in!
Running a Substrate Chain
Out of the box, Substrate provides you with all the tools you need to run a blockchain. Along with the underlying infrastructure (networking, database, consensus, etc...), Substrate comes with a library of runtime modules which give you the features and functionalities of modern blockchains:
- Balances (tokens, transfers, etc...)
- Democracy (stakeholder voting)
- Contract (smart contract platform)
- and more!
Note that a 'runtime' is just logic that powers your blockchain. For example, the state transition function in Bitcoin or Ethereum could be thought of as the runtimes of those blockchains. These modules, along with custom modules that you develop, can be put together on Substrate to build a custom blockchain.
Parity provides a bare-bones substrate node template which integrates a few of these modules into an out-of-the-box working blockchain. This is all I needed to do to set up a running chain:
curl https://getsubstrate.io -sSf | bash
substrate-node-new proof-of-existence "Shawn Tabrizi"
substrate-ui-new proof-of-existence
You can then start the blockchain by going into the proof-of-existence folder and running:
./target/release/proof-of-existence --dev
And finally you can interact with this chain using the proof-of-existence-ui by running:
npm run dev
Developing the Proof of Existence Runtime Logic
Now that we have things running, we want to add our own runtime logic on top to create a proof of existence blockchain. Fortunately, the logic we need to build is pretty simple and straightforward. Essentially, we just need to maintain some storage on the blockchain which establishes:
- An owner
- A file hash (or file digest)
- The timestamp of the verification
Then, we need to create a function which allows a user to write to this storage and claim a file if it has not already been claimed before. For additional user-friendliness, we can also add a function which allows the specific owner of a file to revoke their claim, so that someone else may claim the file in the future.
Continuing to follow this tutorial we can learn the basics of building a new runtime module. Here is a link to the entire proof of existence runtime that I wrote: proof-of-existence/runtime/src/proof_of_existence.rs.
A Closer Look
Let's take a look at a few of the different parts:
decl_storage! {
	trait Store for Module<T: Trait> as POEStorage {
		Proofs get(proofs): map Vec<u8> => (T::AccountId, T::Moment);
	}
}
You can see our storage structure is quite simple. Just a mapping between a Vec<u8> (bytearray) to a tuple of AccountID and Moment (the substrate equivalent of time).
fn create_claim(origin, digest: Vec<u8>) -> Result {
    ensure!(!<Proofs<T>>::exists(&digest), "This digest has already been claimed");

    let sender = ensure_signed(origin)?;
    let time = <timestamp::Module<T>>::now();

    <balances::Module<T>>::decrease_free_balance(&sender, <T::Balance as As<u64>>::sa(POE_FEE))?;
    <Proofs<T>>::insert(&digest, (sender.clone(), time.clone()));

    Self::deposit_event(RawEvent::ClaimCreated(sender, time, digest));
    Ok(())
}
When the user calls the create_claim() function, they provide a signed message including the digest they want to claim. We check that the digest has not already been claimed and that the messaged is signed, where we can also derive the AccountID of the sender.
In my version of the runtime, we charge the user a fee to create a claim. For that operation, we call decrease_free_balance() which will also check whether or not the full amount can be deducted from the account. If the account does not have enough funds, it will throw an error, which stops the transaction.
Note that only after we have done all these checks do we modify the storage and insert() the claim. This is important because if you modify the storage, and the transaction fails at some later point, the storage will remain modified. Substrate warns about this in their documentation:
// Since this is a dispatched function there are two extremely important things to
// remember:
//
// - MUST NOT PANIC: Under no circumstances (save, perhaps, storage getting into an
// irreparably damaged state) must this function panic.
// - NO SIDE-EFFECTS ON ERROR: This function must either complete totally (and return
// `Ok(())` or it must have no side-effects on storage and return `Err('Some reason')`.
The revoke function is basically the same, but going the other direction:
fn revoke_claim(origin, digest: Vec<u8>) -> Result {
    ensure!(<Proofs<T>>::exists(&digest), "This digest has not been claimed yet");

    let sender = ensure_signed(origin)?;
    let (owner, _time) = Self::proofs(&digest);

    ensure!(sender == owner, "You must own this claim to revoke it");

    <Proofs<T>>::remove(&digest);
    <balances::Module<T>>::increase_free_balance_creating(&sender, <T::Balance as As<u64>>::sa(POE_FEE));

    Self::deposit_event(RawEvent::ClaimRevoked(sender, digest));
    Ok(())
}
We importantly check that the owner of the file is the same as the sender requesting to revoke the claim. After we remove the mapping from storage, we then return the funds which were initially spent to create the claim.
Both the create_claim() and the revoke_claim() function ends with an event being generated, which reports to the outside world when a user makes or revokes a claim. This event can be used to detect a successful transaction, or lack thereof.
In addition to the proof_of_existence.rs file we created, we also needed to modify other parts of the substrate-node-template to integrate this new module into our blockchain. You can learn more about those details by completing the tutorial that we previously referenced.
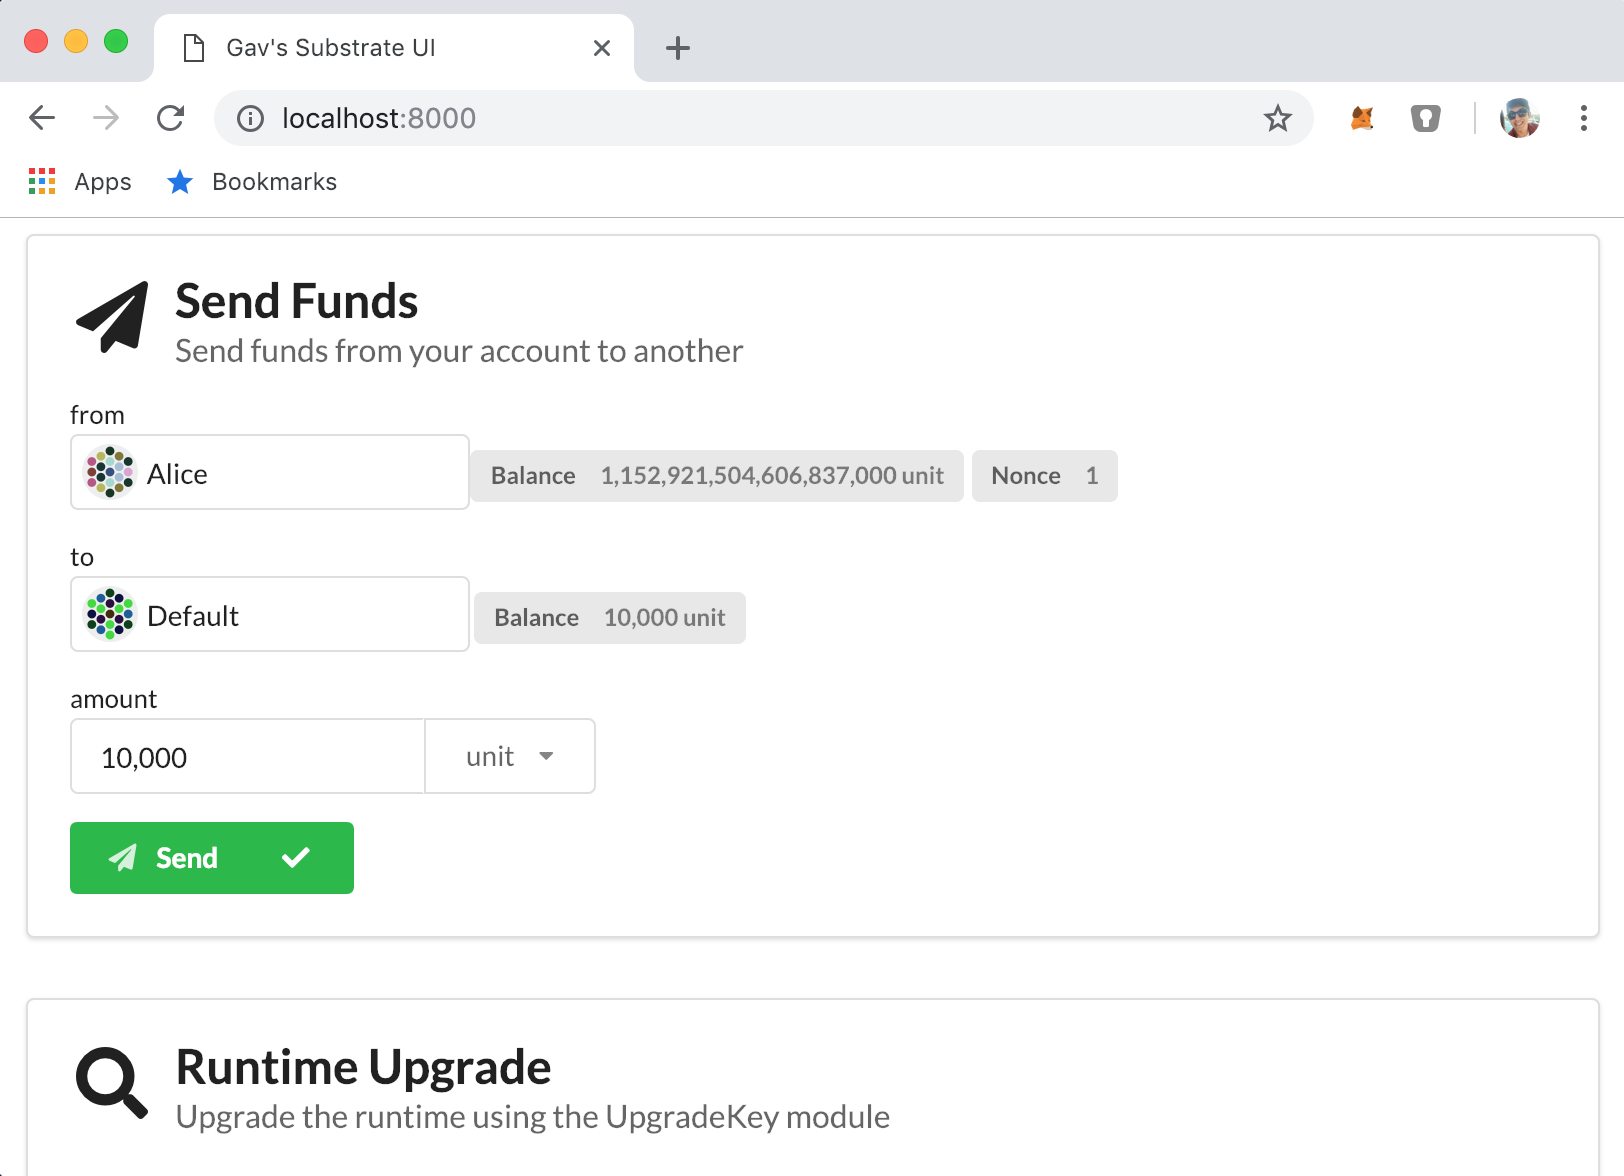
Creating a User Interface for Our Chain
Now that we have completed our custom runtime, we need a way to allow our users to easily interact with this new functionality. For that, we will modify the substrate-ui that we generated earlier.
The custom runtime tutorial already showed you some of the basics of modifying the substrate-ui, but for our needs, we will need to write some custom React components.
Here is what our segment in the app.jsx file will look like:
{% raw %}
<Segment style={{ margin: '1em' }} padded>
	<Header as='h2'>
		<Icon name='lock' />
		<Header.Content>
			Proof of Existence
			<Header.Subheader>Claim ownership of your digital files</Header.Subheader>
		</Header.Content>
	</Header>
	<div style={{ paddingBottom: '1em' }}>
		<div style={{ fontSize: 'small' }}>Owner</div>
		<SignerBond bond={this.poeAccount} />
		<If condition={this.poeAccount.ready()} then={<span>
			<Label>Balance
				<Label.Detail>
					<Pretty value={runtime.balances.balance(this.poeAccount)} />
				</Label.Detail>
			</Label>
		</span>} />
	</div>
	<div>
		<FileDigestBond bond={this.poeDigest} content='Select File' />
		<DigestTag value={runtime.proof_of_existence.proofs(this.poeDigest)} account={this.poeAccount} />
	</div>
	<TransactButton
		content="Claim File"
		icon='lock'
		tx={{
			sender: this.poeAccount,
			call: calls.proof_of_existence.createClaim(this.poeDigest)
		}}
	/>
</Segment>
{% endraw %}
Custom Components
You can see we added two new components: the FileDigestBond and the DigestTag.
The FileDigestBond is very similar to the FileUploadBond which is provided as a part of the substrate-ui, but instead of returning the content of the file, it will return the digest by simply hashing that content. We can clone the FileUploadBond component, and modify a small section like so:
if (file) {
  this.state.name = file.name;
  var fileReader = new FileReader();
  fileReader.onloadend = (e) => {
    let fileContents = new Uint8Array(e.target.result);
    let fileDigest = "0x" + XXH.h64(fileContents.buffer, 0).toString(16);
    this.props.bond.trigger(fileDigest);
    this.setState({ digest: fileDigest });
  };
  fileReader.readAsArrayBuffer(file);
}
Then to convey the current ownership status of a file, we create a fully custom DigestTag component which will show who owns a file (if anyone) and when they claimed it. Here is what that looks like:
import React from "react";
import { ReactiveComponent } from "oo7-react";
import { Label } from "semantic-ui-react";
import { ss58Encode } from "oo7-substrate";
export class DigestTag extends ReactiveComponent {
constructor() {
super(["value", "account"]);
}
readyRender() {
if (this.state.value) {
let time = this.state.value[1];
// Check if time is 0, which implies not claimed
if (time.number == 0) {
return (
<Label basic color="green" pointing="left">
<span>Unclaimed!</span>
</Label>
);
} else {
let owner = ss58Encode(this.state.value[0]);
if (ss58Encode(this.state.account) == owner) {
return (
<Label basic color="green" pointing="left">
<span>
Owner: You! | When: {time.toLocaleDateString()}
</span>
</Label>
);
} else {
return (
<Label basic color="red" pointing="left">
<span>
Owner: {owner.substring(0, 8) + "…"} | When:{" "}
{time.toLocaleDateString()}
</span>
</Label>
);
}
}
}
}
}
If we put everything together, and run it, we will get something like this:
Final Thoughts and Next Steps
You can see that with relatively little effort, the Substrate framework allows you to build custom blockchains. Substrate itself provides you with all the infrastructure required to set up a node. The Substrate Runtime Module Library (SRML) gives you a package of pre-built tools and features that you can easily add to your blockchain. The substrate-node-template can help you immediately get started with development, and the substrate-ui can enable you or other users to quickly interact with your chain.
Obviously I have picked a very simple project to implement here, but this process has itself been very eye opening to the power of the platform, and has allowed me to become more familiar with these cutting edge tools. But we are not done here. As someone tinkering around, I feel pretty satisfied with my local setup, but this is a platform built to for production ready, scalable blockchains.
The next steps for me will be to investigate:
- UI for revoking a claim
- Token distribution patterns (maybe a timed faucet?)
- Setting up bootnodes on a cloud provider
- Creating/distributing binaries for others to run a node
- ???
As I tackle these different problems, I will make additional posts to keep you updated with what I learn along the way. You can always follow this project right on my GitHub: https://github.com/shawntabrizi/substrate-proof-of-existence. If you enjoy this content, or are looking forward to reading more about Substrate and blockchain development, feel free to check out my donations page. Thanks!